by Shelly Smola of My Fair Lady
| Quilt Instructions |
| Quilt Supplies |
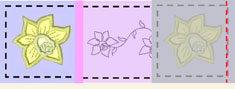
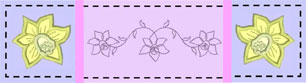
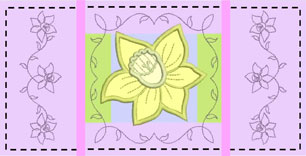
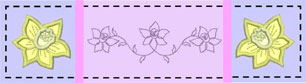
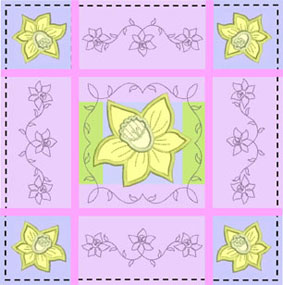
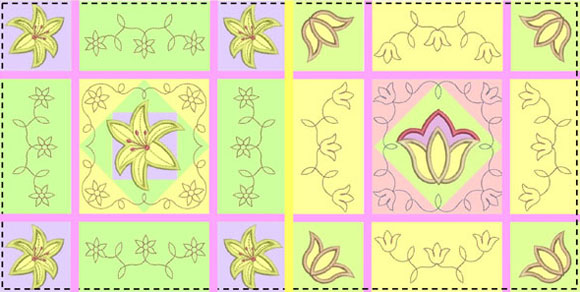
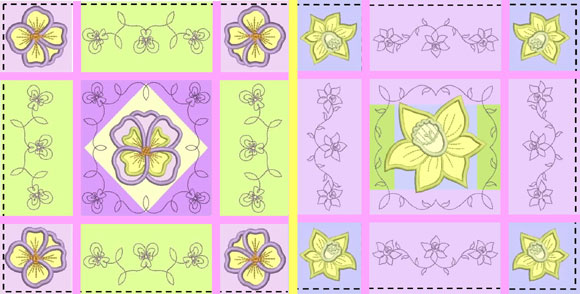
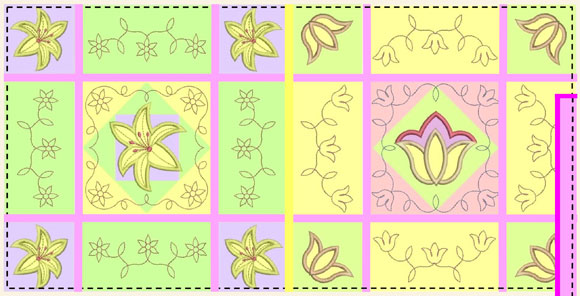
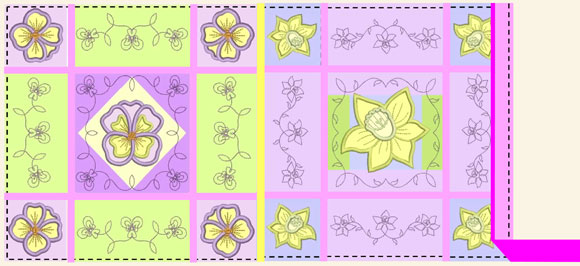
| 6 Main Quilt Squares (1 of each square) |
| Finished Quilt Sizes |
Sashing and Binding
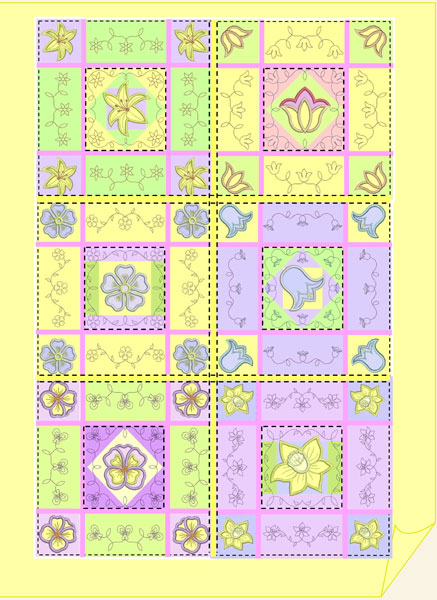
The quilt shown has pink sashing (the strips of fabric in between each quilt square) inside the 6 individual blocks, and yellow sashing separating the 6 large blocks. The yardage is given below.
|
|
4x4 Squares
5x5 Squares
6x6 Hoop |
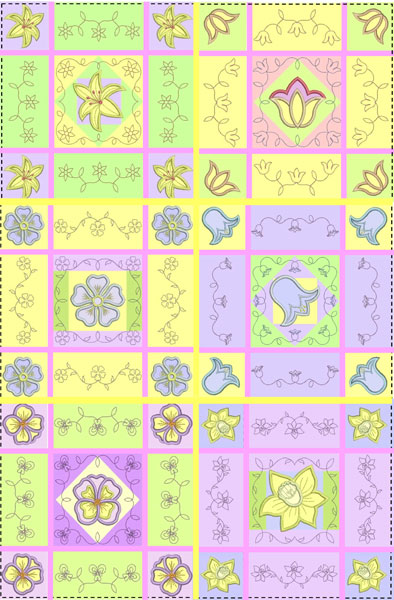
Quilt Assembly
The quilt will be assembled in "sets" of 9 pieces at a time. Start with 1 main quilt square and its 4 matching corners and 4 half squares.
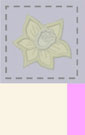
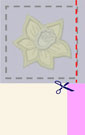
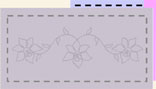
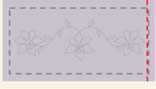
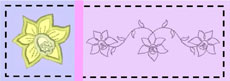
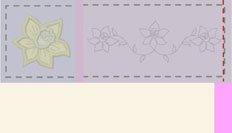
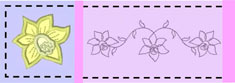
1. Take the top left corner square and place it over the pink sashing, right sides together. (The grey image above is the wrong-side of the fabric - the pink is the right-side). 2. Stitch together using the stitched border on the corner square as your seam guide. Stitch JUST INSIDE the line as shown to hide the seam guide. 3. Trim the unused portion of the sashing. 4. Open the sashing and finger press. The seam will naturally open toward the sashing. 5. Place a half square right sides together with the sashing. 6. Stitch together using the stitched border on the half square as your seam guide. Stitch JUST INSIDE the line as shown to hide the seam guide. 7. Open the sashing and finger press. 8. Place the corner and half square right sides together with the unused strip of sashing. Stitch together using the stitched border on the half square as your seam guide. Remember to stitch just inside the seam guide. 9. Trim the unused portion of the sashing. As you complete the block, if the unused sashing isn't long enough, set it aside and use it for smaller sections. Start with a new strip when necessary. 10. Open the sashing and finger press. 11. Place a corner square right sides together with the sashing. Stitch together using the stitched border on the corner square as your seam guide. Remember to stitch just inside the seam guide. 12. Lay the row flat and iron. Use a pressing cloth and iron from the front. Do not iron from the back, as the wash-away stabilizer will shrink and distort the blocks. 13. Sew two half squares and the main square together with sashing and iron open. 14. Repeat for the last two corners squares and half square. 15. Sew the 3 rows together with sashing in the same manner. Complete the other 5 blocks following the same steps. Iron each block when finished. Remember to iron from the front with a pressing cloth. 16. Sew the top two large blocks together using the yellow sashing. 17. Sew the middle two large blocks together using the yellow sashing. 18. Sew the bottom two large blocks together using the yellow sashing.


19. Sew the 3 rows together with sashing.
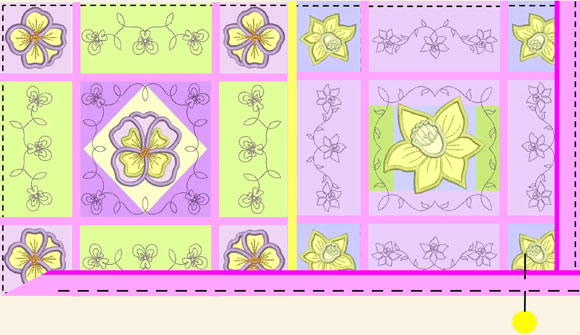
20. Cut the fabric for the back of the quilt slightly larger than your quilt. Lay the quilt top on the quilt back, WRONG sides together and pin.
21. "Stitch in the ditch" along the yellow sashing and around the six main squares to secure the back and protect the batting. TIP: Use a walking foot!
22. Baste the quilt top to the back around the edge. Trim the back to match the quilt.
Binding
1. Sew the binding strips together, and press the seams open. 2. Press under ¼" along one short edge. Press under ¼" along one long edge.
![]()
wrong side ![]()
3. Beginning a few inches away from a corner on one side, stitch the unfolded side of the binding to the quilt. Stitch just inside the seam line already stitched on the quilt.
4. To miter the corners, stop sewing ¼" from the corner and backstitch.
5. Fold the binding so that it is in line with the edge you will be sewing, then fold it back down so that the raw edges are together again. The fold should line up with the edge of the quilt top. Pin in place.
6. Turn the quilt so that you will be ready to sew the next edge. Begin sewing the next edge ¼" from the top.
7. Continue sewing the binding around quilt, mitering corners as you go.
8. When you reach the starting point, overlap the edges about ½". Tuck the end of the binding under the fold of the starting point.
9. Turn the binding to the back of the quilt and hand-stitch so that the seam line on the back is covered. Hand-stitch the front of the binding where the two ends meet.
Washing
Wash your quilt in warm water to remove the stabilizer. Tumble dry on low heat. Remove the quilt from the dryer while it is slightly damp and lay it flat to dry.
No comments:
Post a Comment